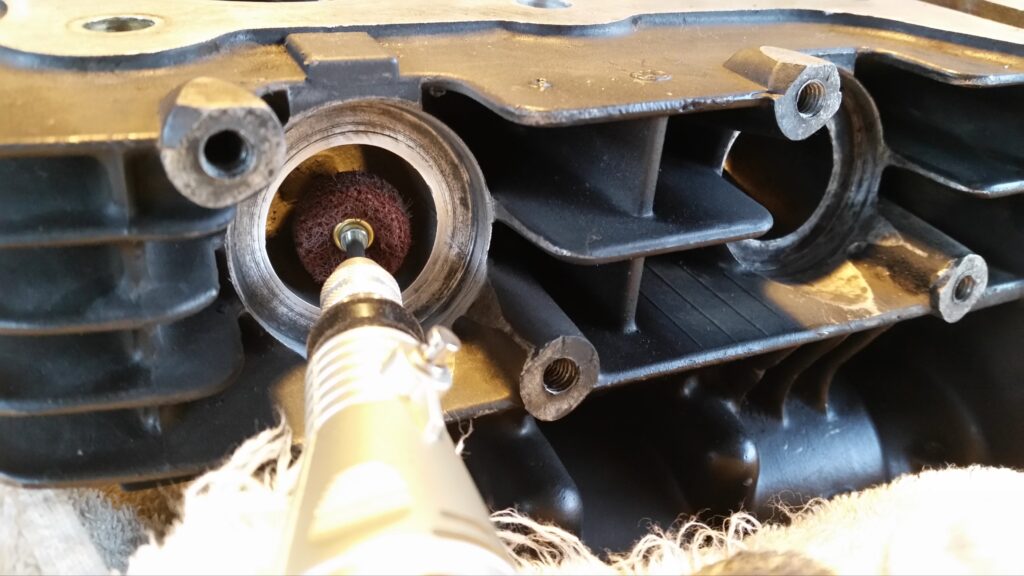
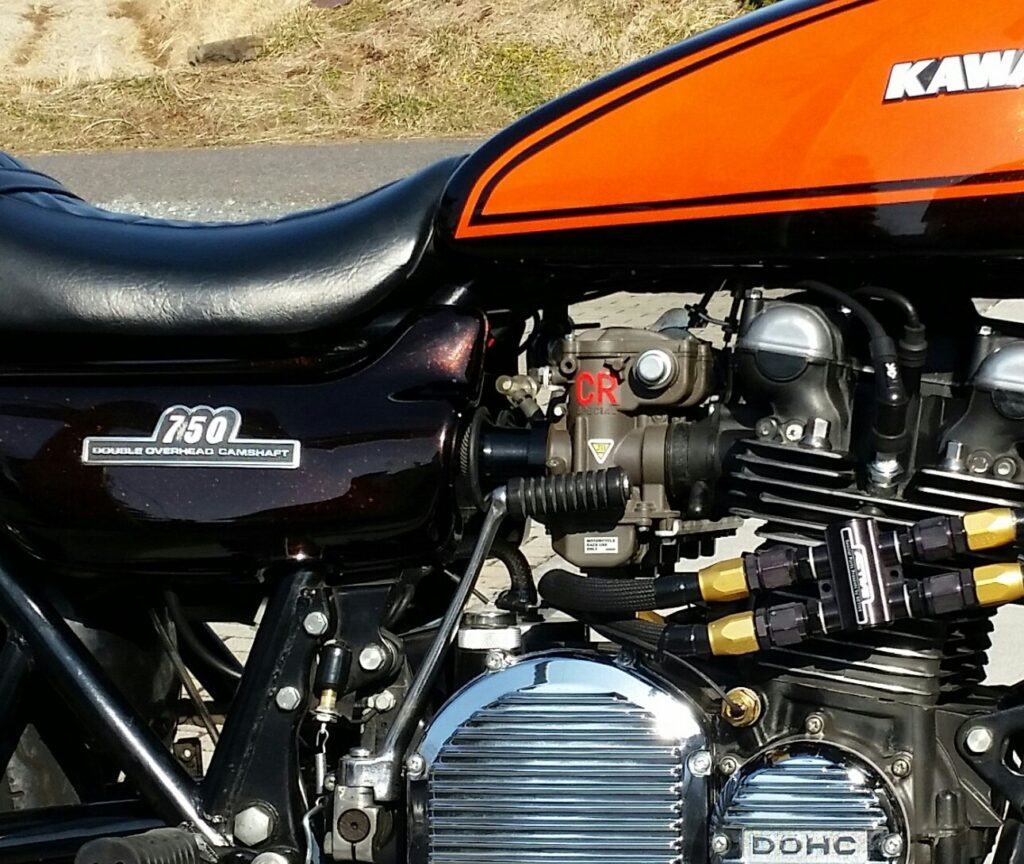
腰上オーバーホールの続きで、ポートを少し研磨しときます。
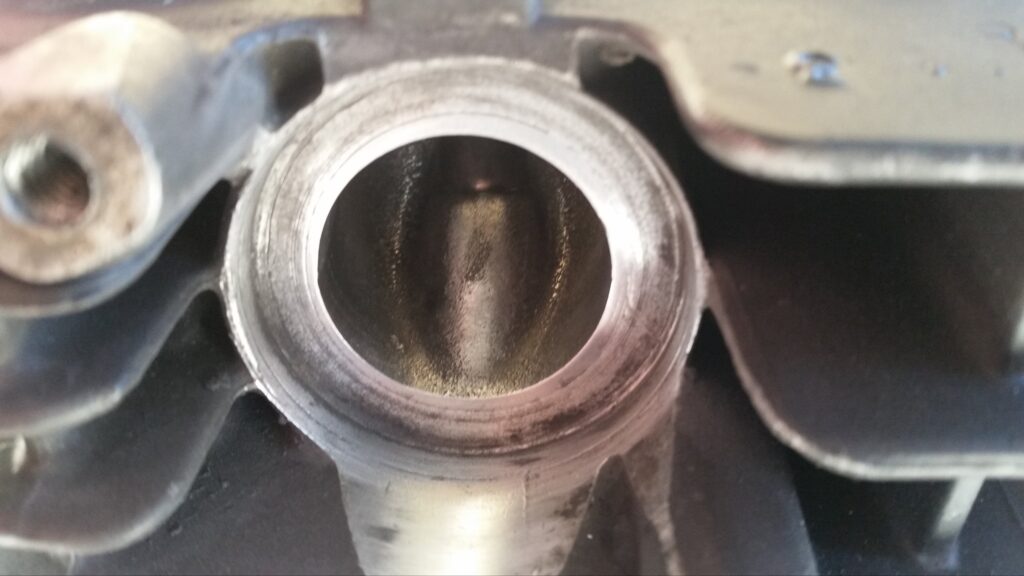
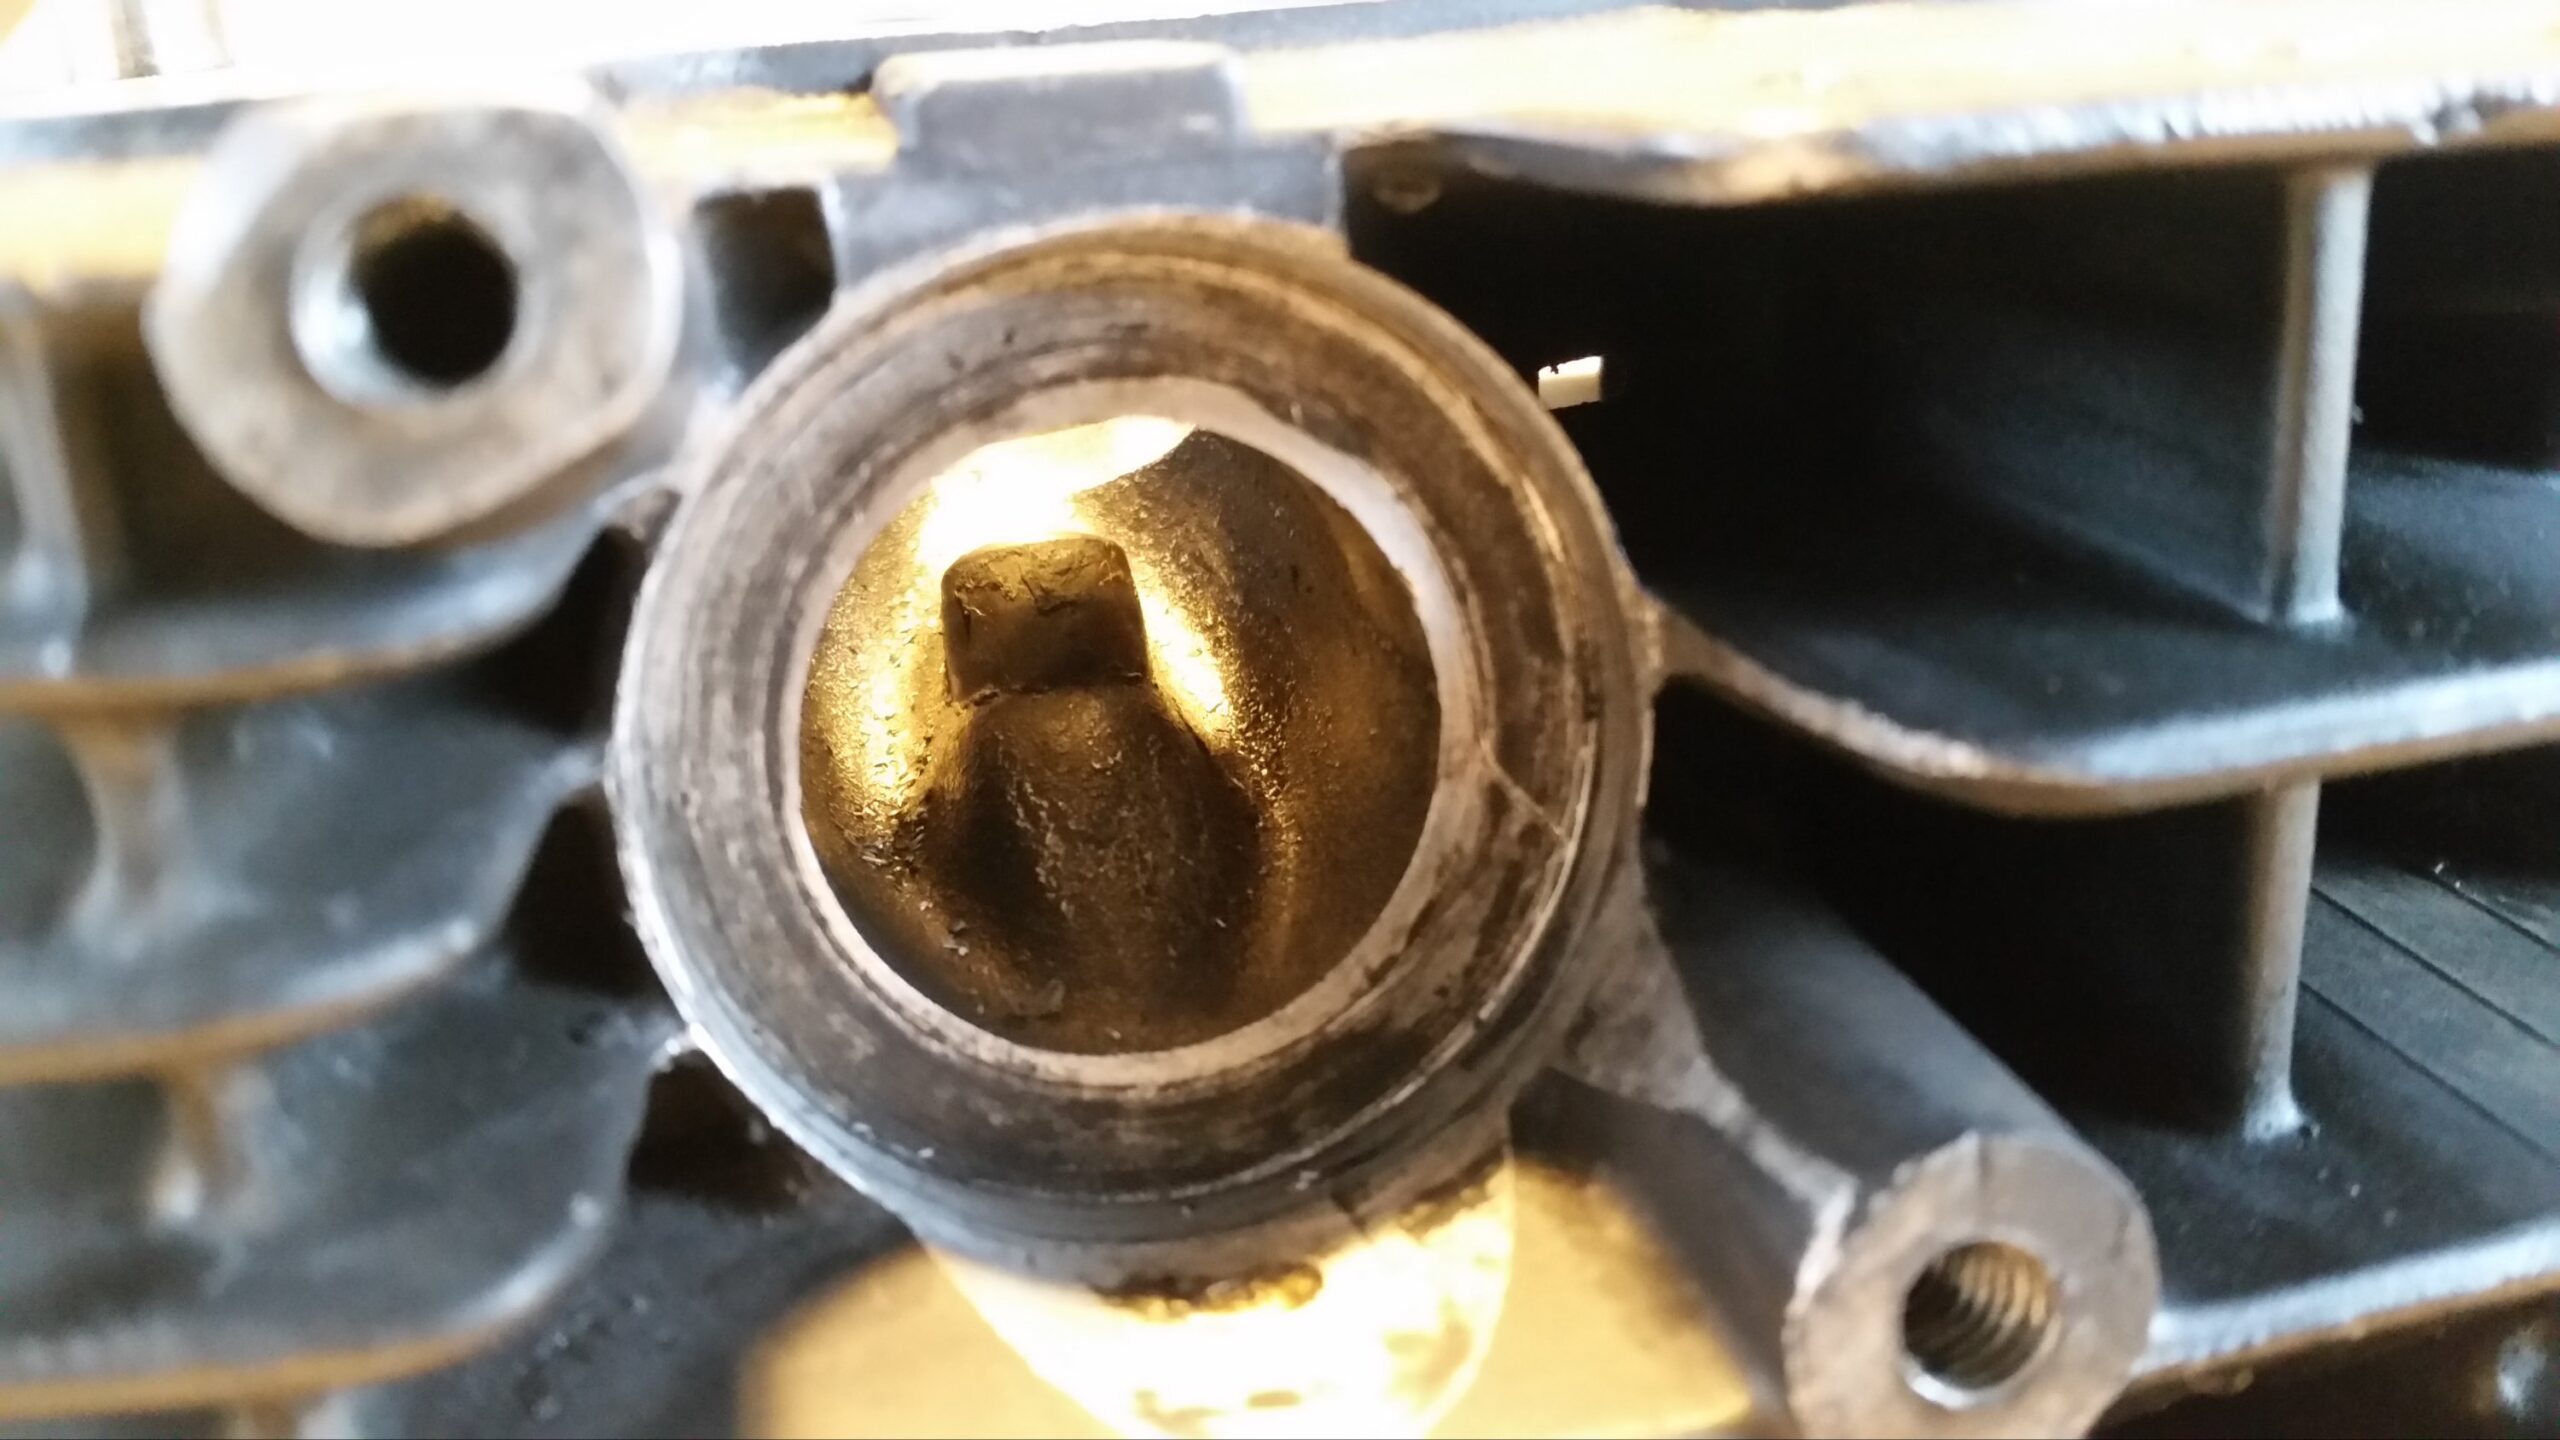
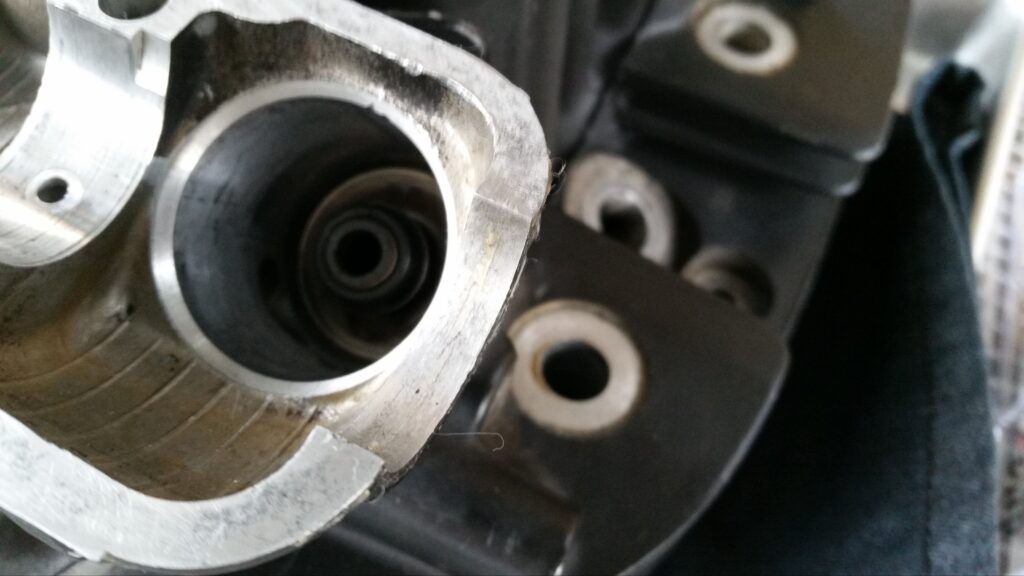
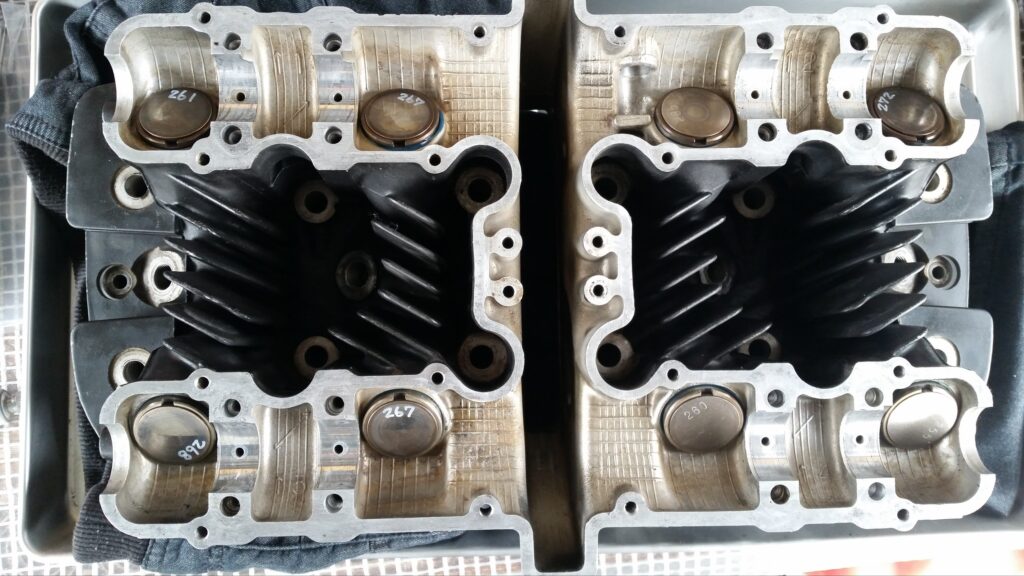
次にバルブ周り
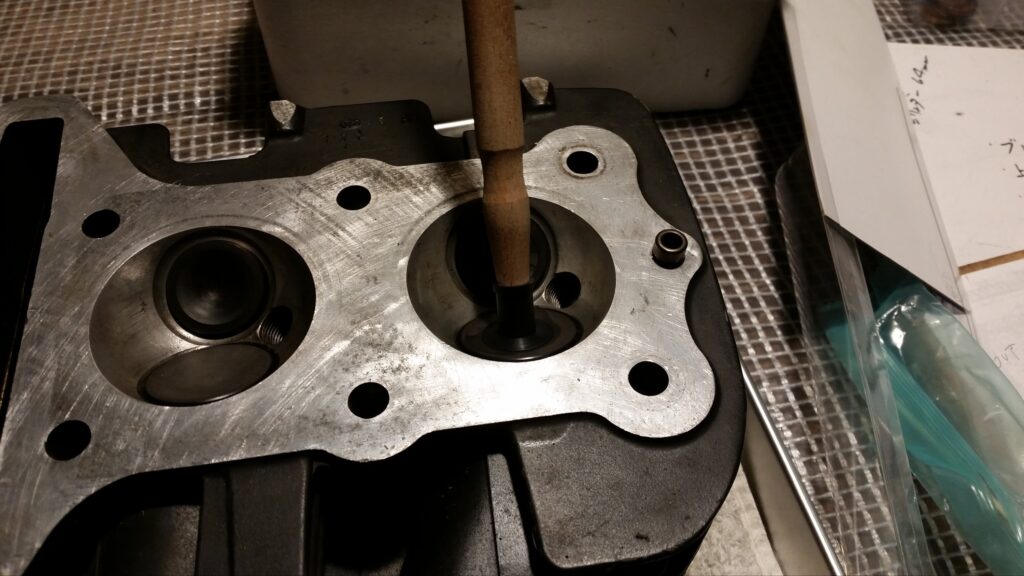
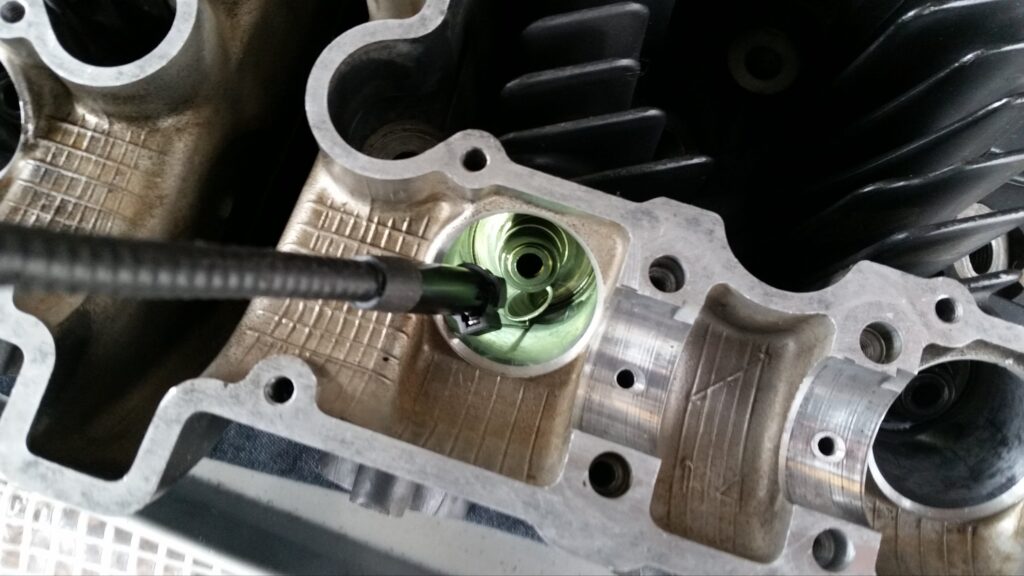
バルブの辺り面が若干虫食い状態になっていたので、タコ棒を使って擦り合わせします。
リンク
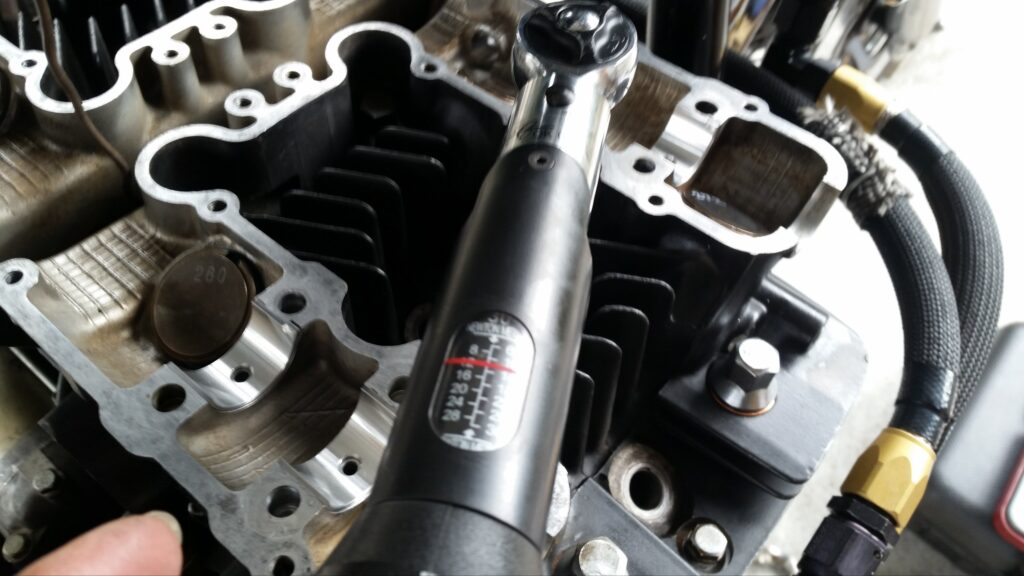
シム調整のみで、行けるように祈りながら慎重に力強くw
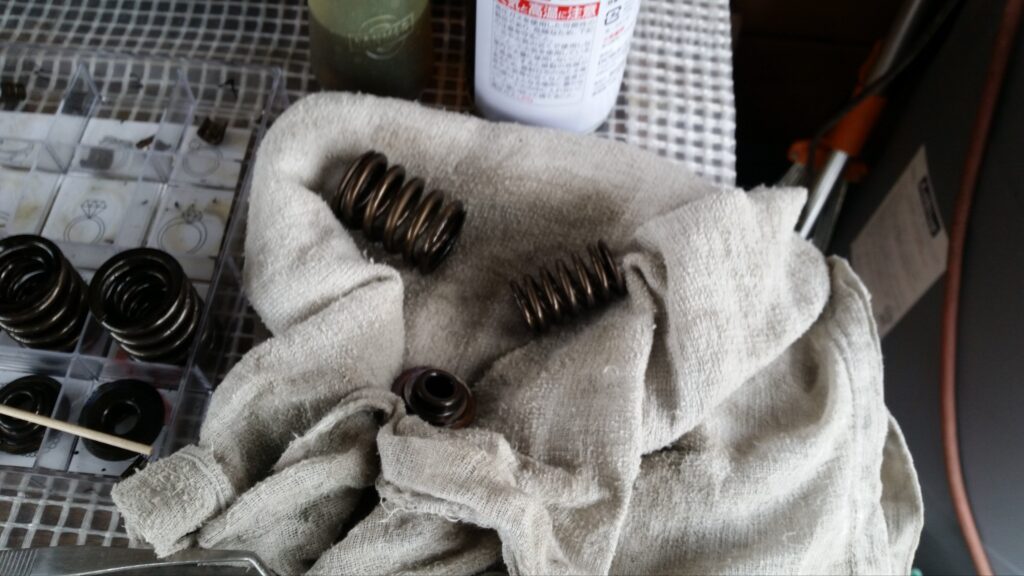
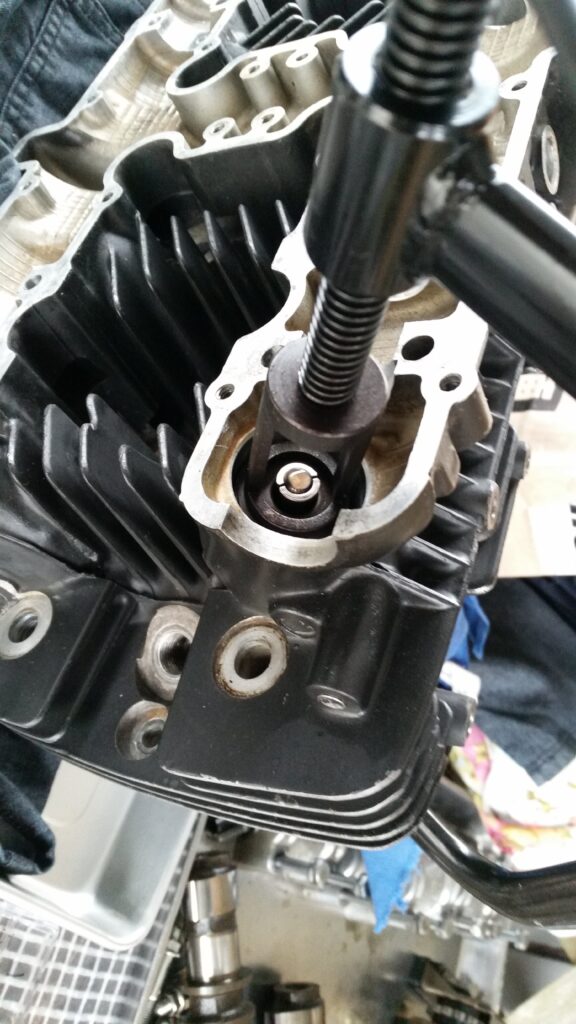


ガンガン組んでいきます。
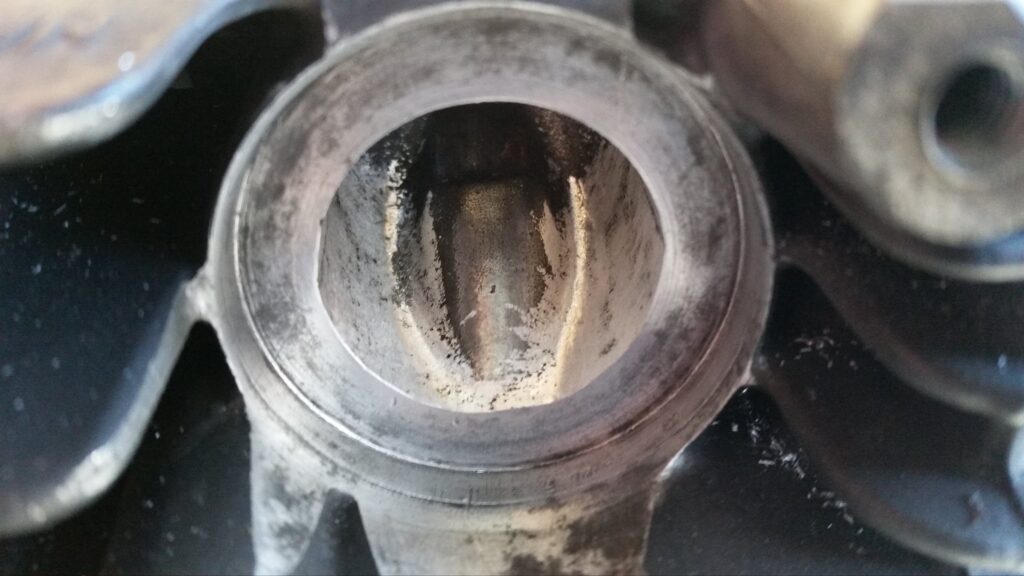
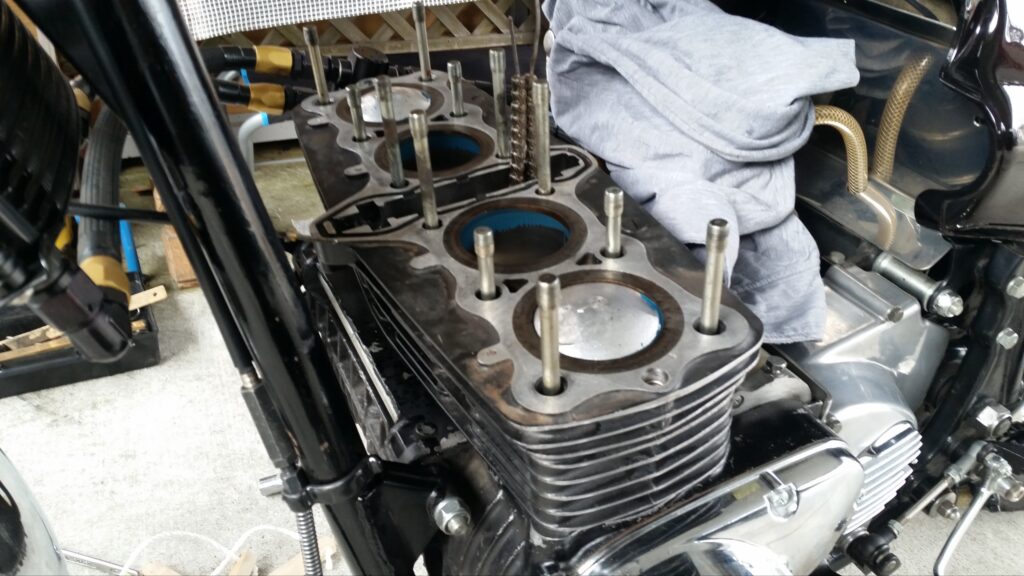
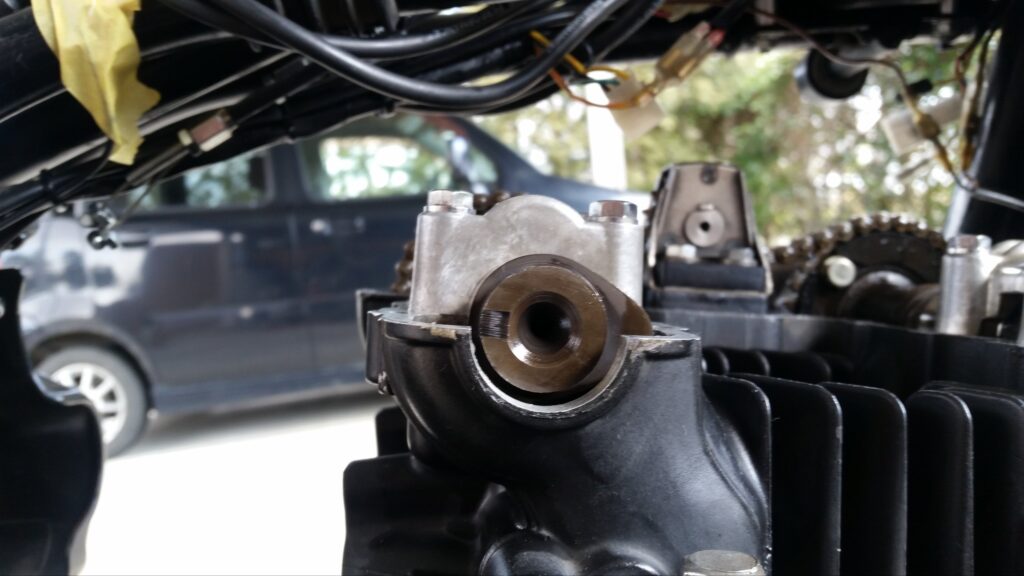
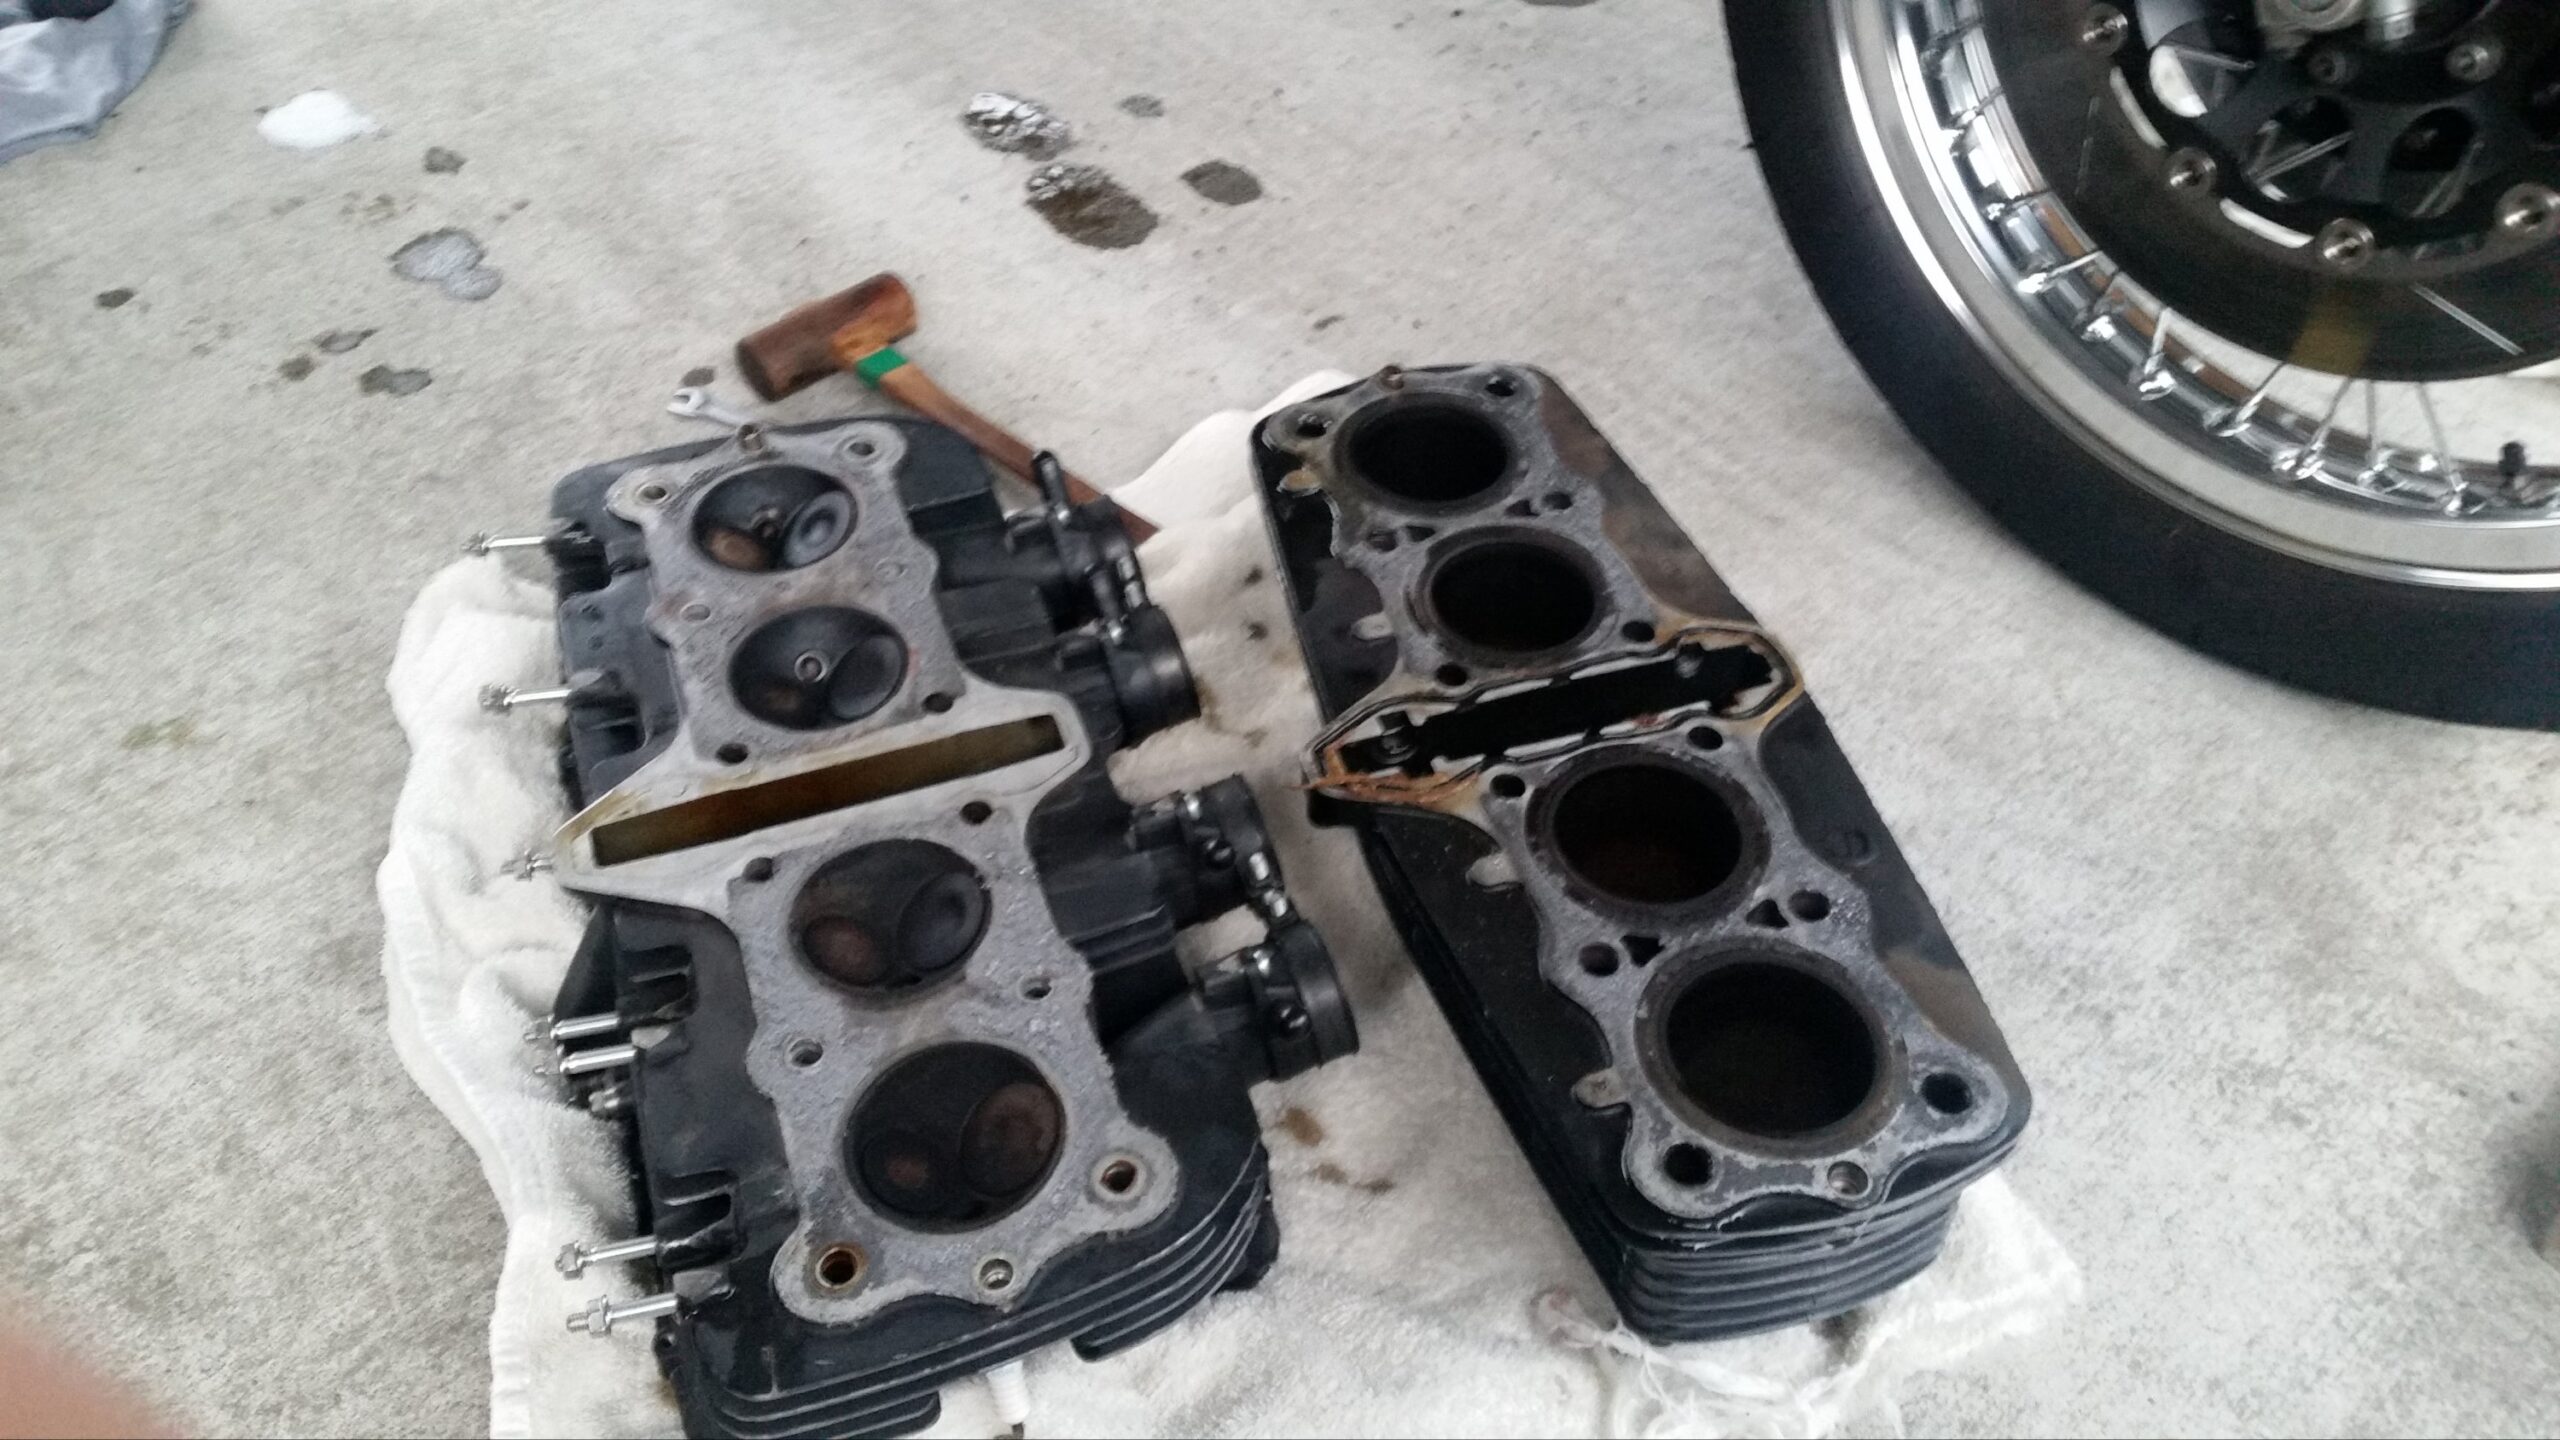
次はシリンダー

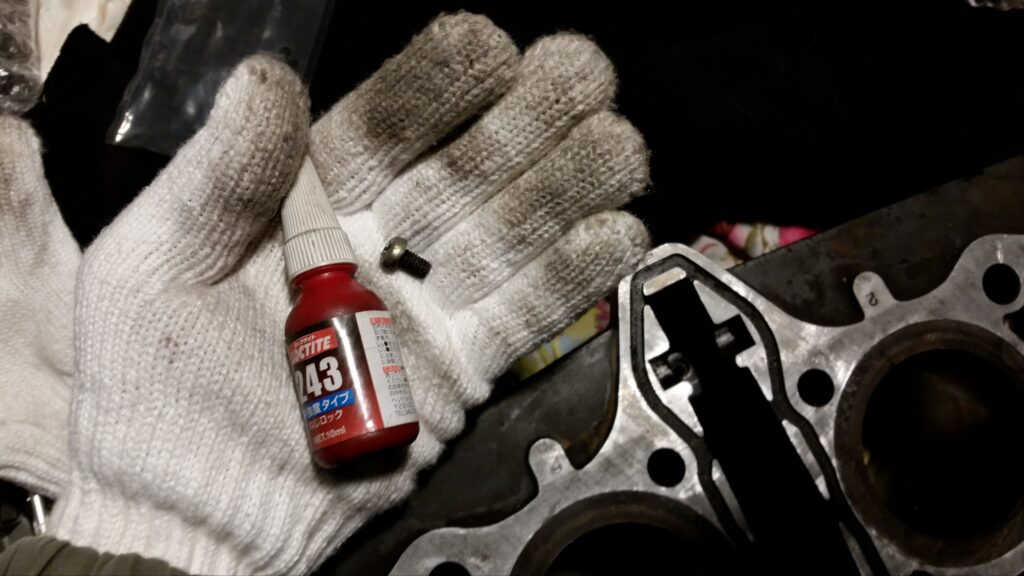
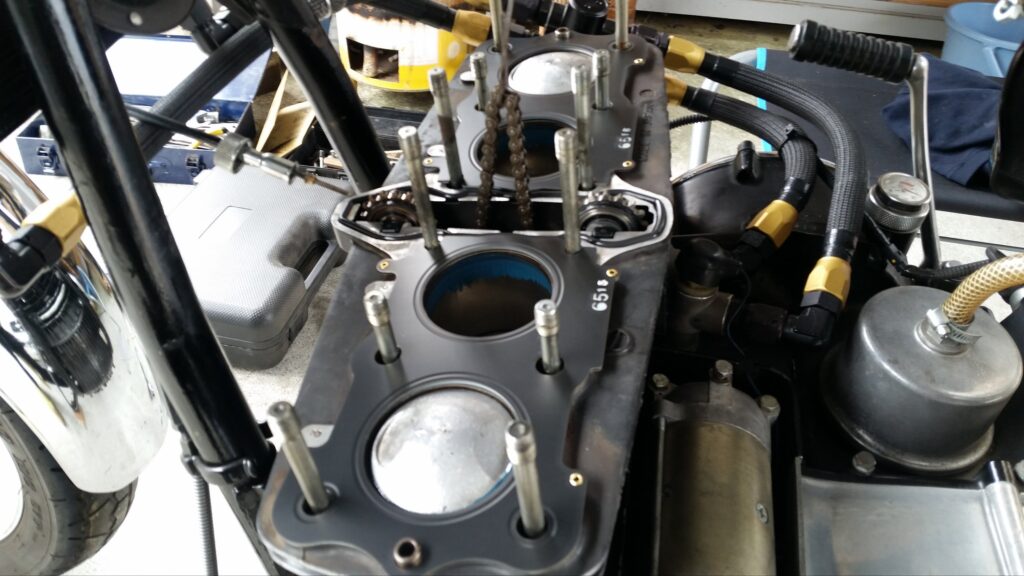
カムチェーンスライダーは、削れていたので、PMC製のモノにします。取り付けはネジロックを塗布。
リンク
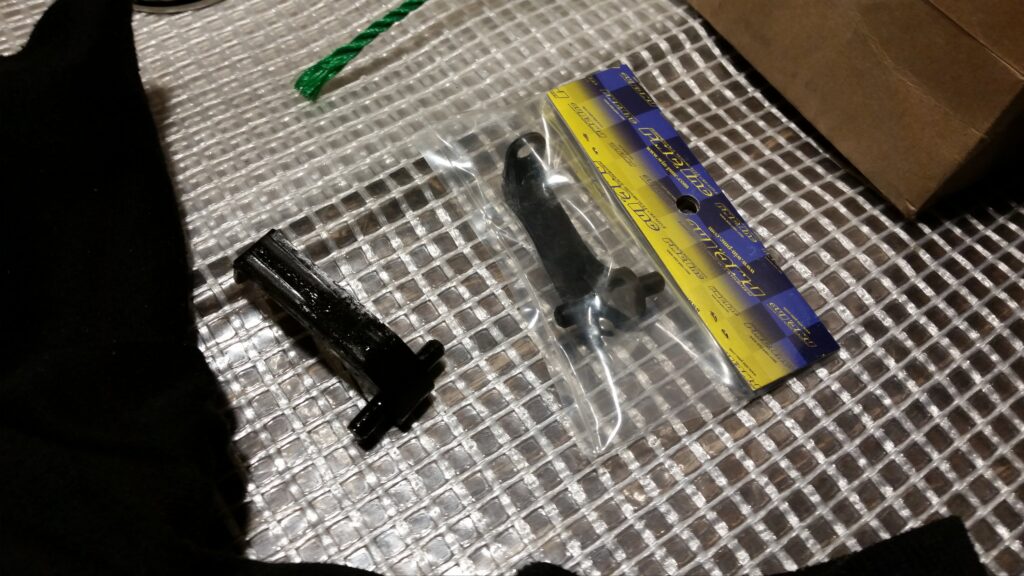
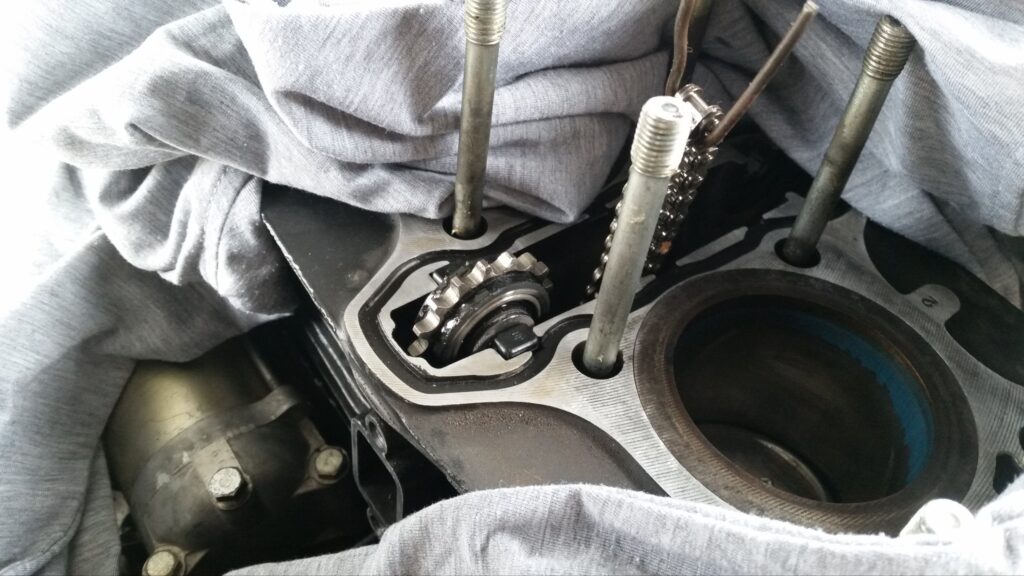
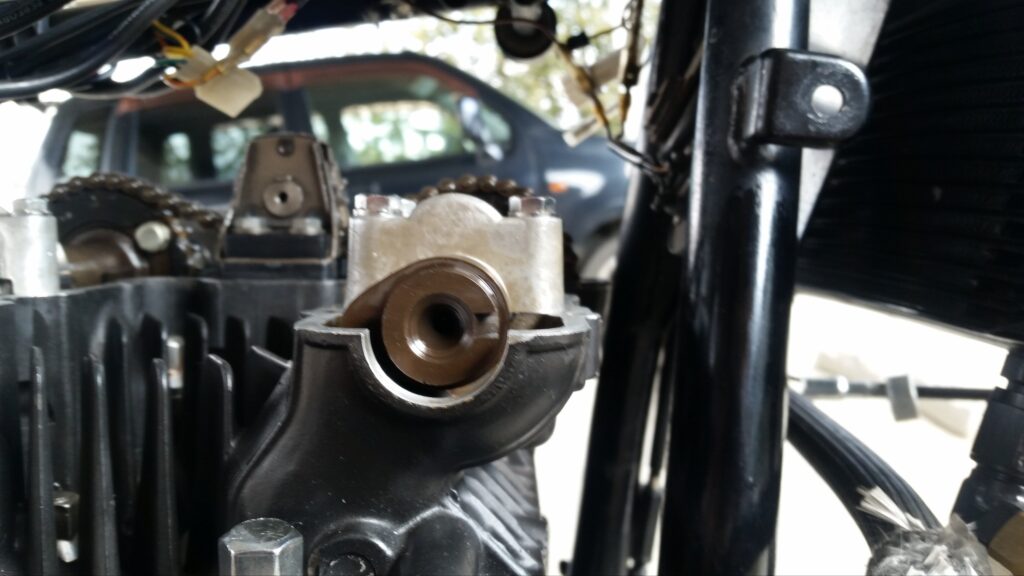
アイドラーはシャフトとダンパーを新品に交換。
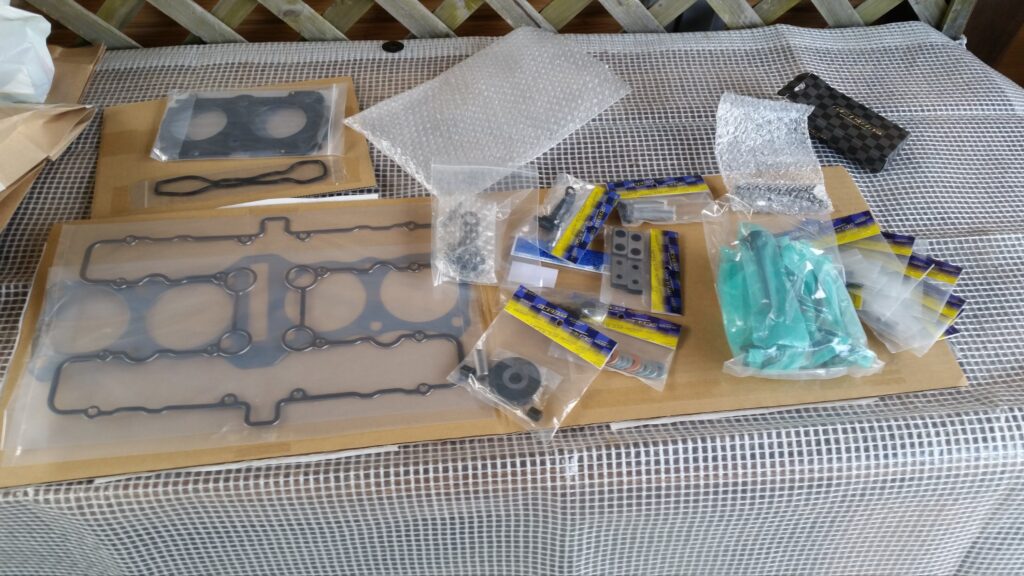
ガスケット関係はPAMSの4ピースセットのモノで、テンショナーアームもPAMSさんでリフレッシュして帰ってきたものにします。

恐れを知らない素人は、ドキドキしながらもあらゆるネット記事を参考にしながらガンガン組んでいく!

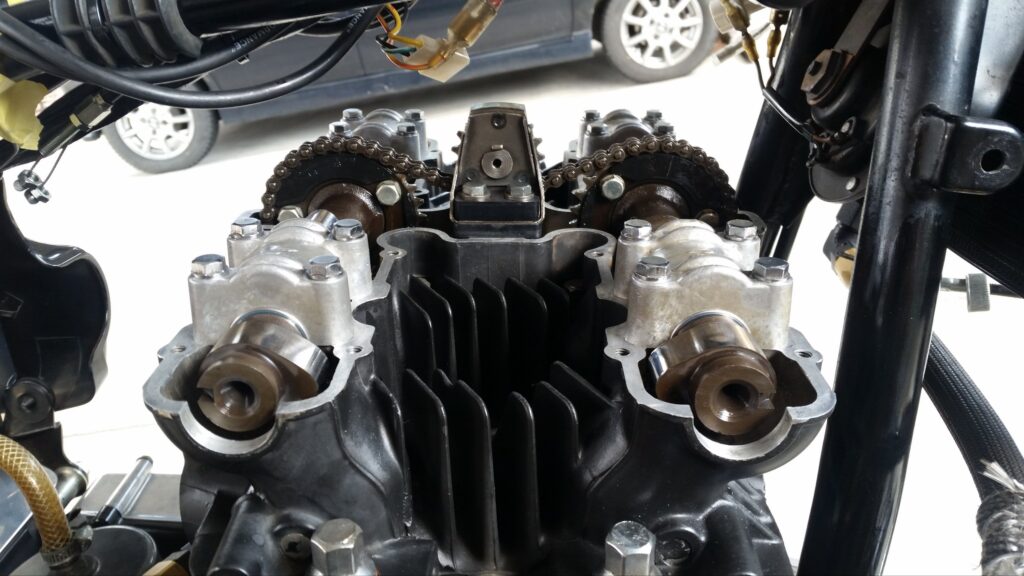
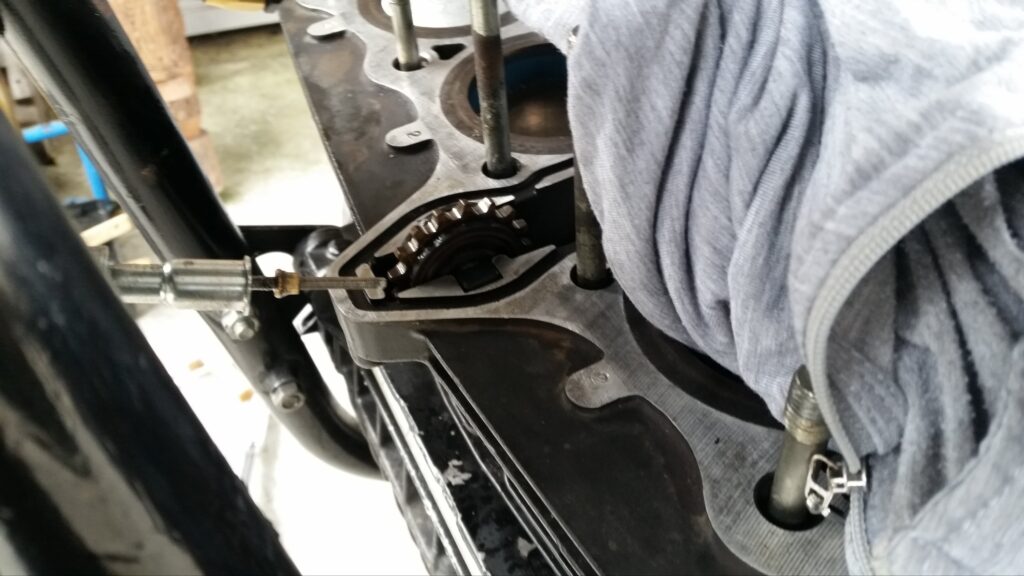
バルブタイミングをチェーンのコマで合わせようとしても、若干チェーンが伸びている模様・・
一応、形にはなりました。
この後試運転するも、バルブに異物が挟まって もう一度ヘッドを下ろして組んでを繰り返しました。
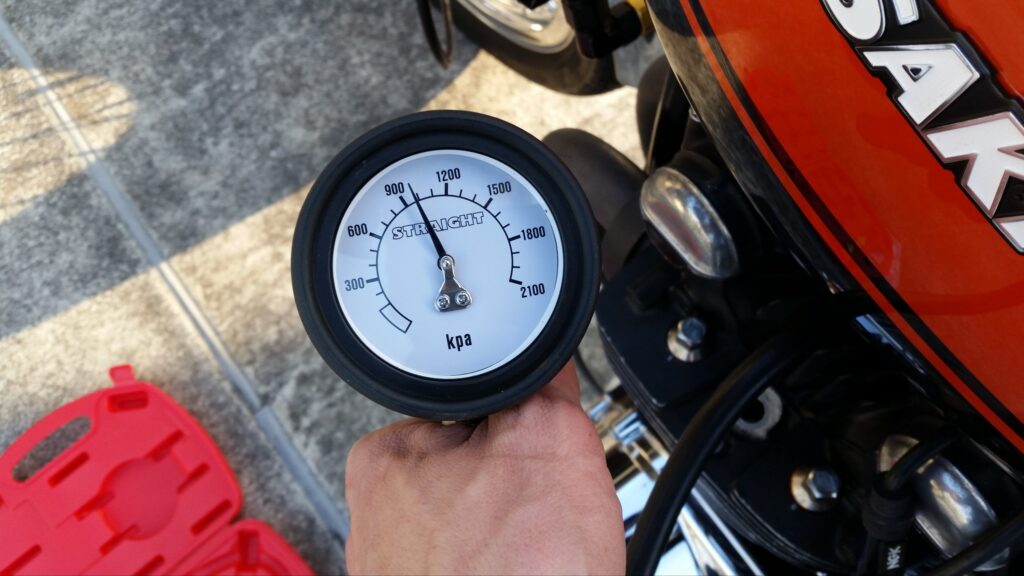
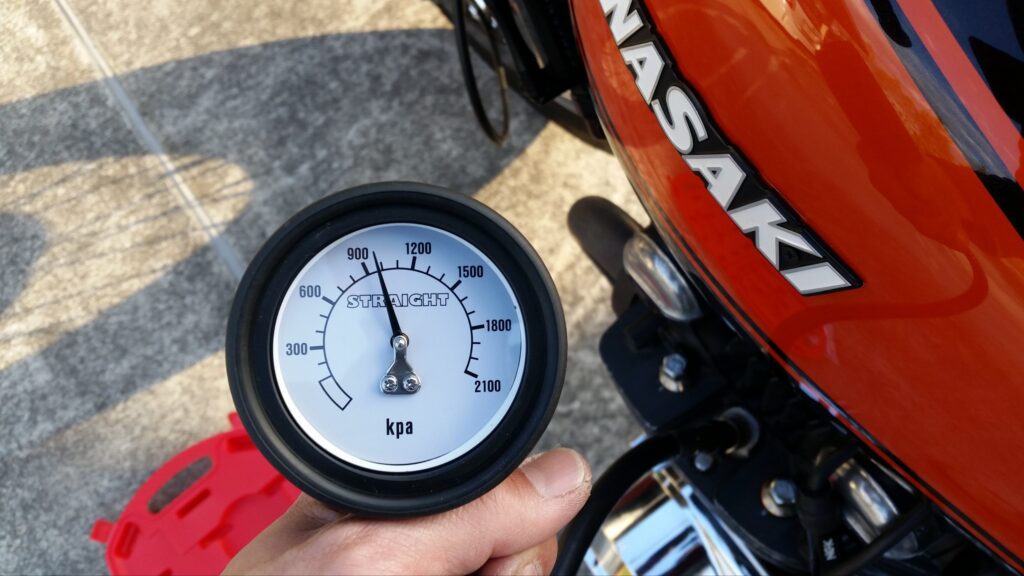
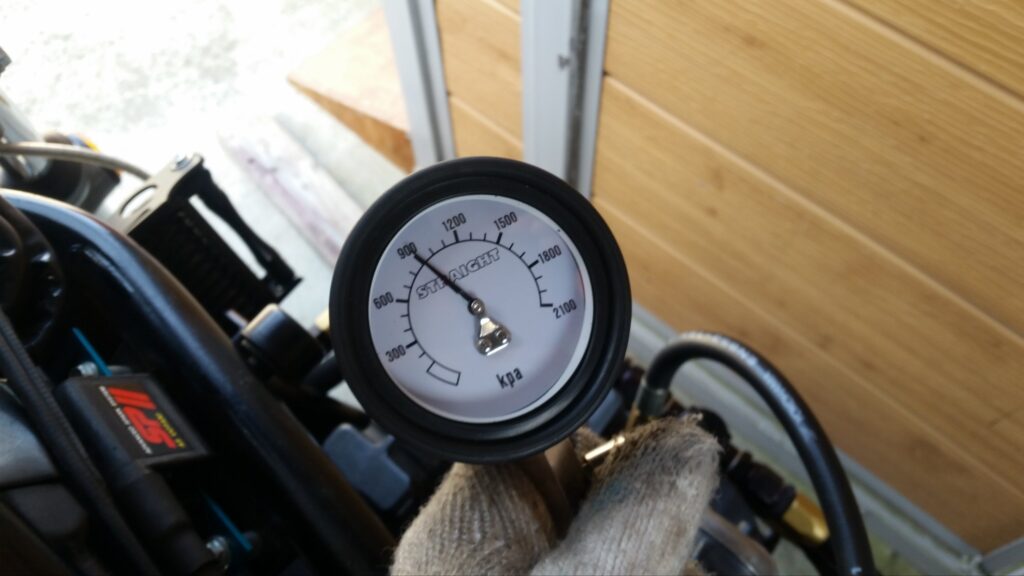
やっと走れる!!

コメント